
Enhancing your home’s exterior with wood shingle siding offers a blend of natural beauty and classic appeal. Known for their exceptional durability and aesthetic charm, wood shingles, particularly cedar, provide a unique allure that synthetic materials can’t replicate. This installation guide will equip you with the knowledge and steps necessary to complete the project successfully, whether you’re a seasoned DIY enthusiast or a beginner eager to embark on home improvement.
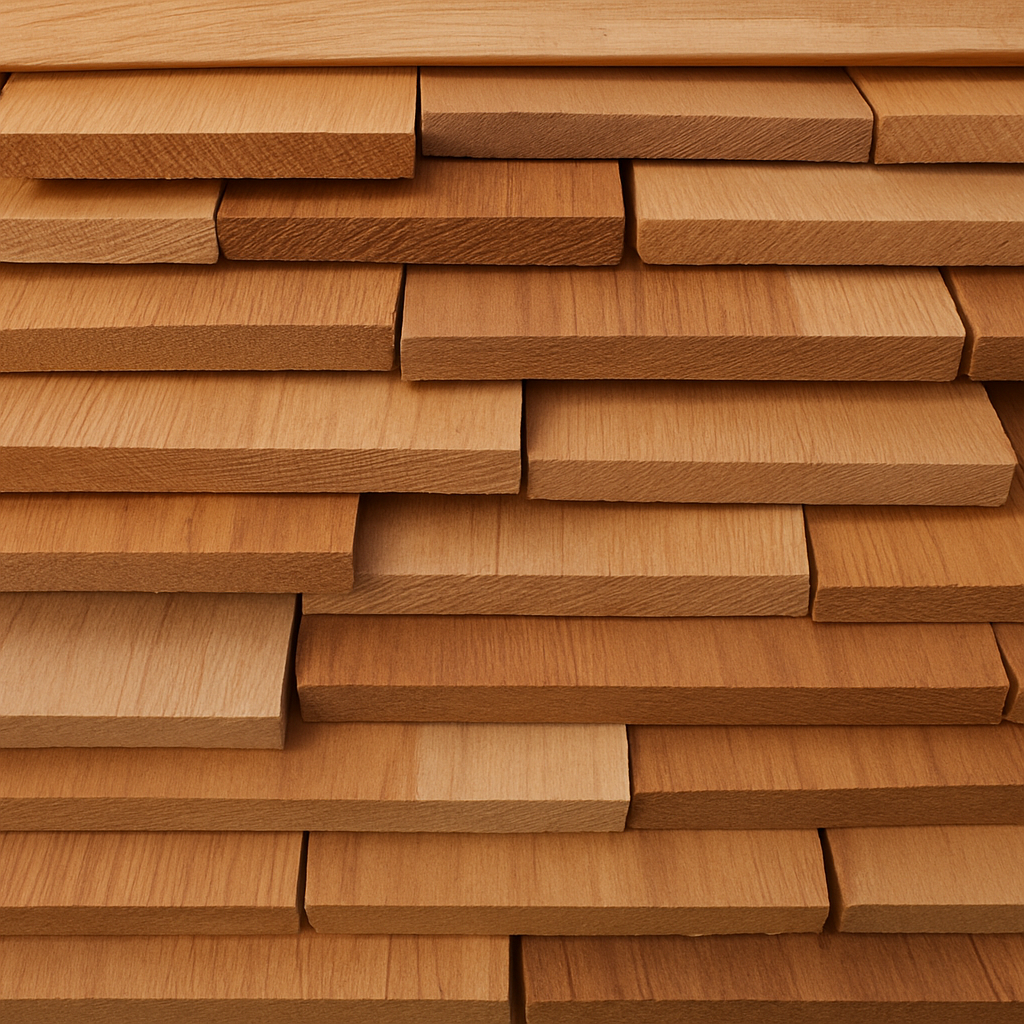
Cedar shingles are thin, precisely tapered pieces of wood, typically used for both roofing and siding. They are carefully cut from natural cedar logs, which inherently makes them resistant to rot and insects, offering a long-lasting and environmentally friendly solution for home exteriors. Cedar shingles not only elevate the curb appeal of your home but also imbue it with a classic, rustic charm that stands the test of time.
Why Choose Cedar Shingles?
Cedar shingles are not only visually appealing but also highly functional. Their natural insulating properties help maintain a comfortable indoor climate, keeping your home warm during cold winters and cool in the heat of summer. Moreover, they are available in a variety of styles and finishes, allowing homeowners to customize the appearance to match their specific design preferences and architectural styles. Beyond aesthetics, cedar shingles contribute to an eco-friendly home environment, as they are biodegradable and sourced from renewable resources.
Cedar shingles also have a proven track record of durability. With proper care and maintenance, they can last for decades, withstanding harsh weather conditions and maintaining their structural integrity. This longevity, combined with their low environmental impact, makes cedar shingles a sustainable choice for conscientious homeowners. Additionally, their natural resistance to moisture and pests reduces the need for frequent repairs, offering both cost savings and peace of mind.
Preparing for Installation
Before embarking on the installation of wood shingle siding, thorough preparation is crucial to ensure a smooth and successful project.
Tools and Materials Needed
Gathering the right tools and materials in advance can streamline the installation process, minimizing interruptions and ensuring efficiency. You will need:
- Cedar shingles (consider sourcing from reputable suppliers for high-quality options such as cedar shingle manufacturers or local cedar shake suppliers)
- Roofing nails, preferably stainless steel or galvanized to prevent rust
- A hammer or, for increased speed and precision, a nail gun
- A utility knife for trimming shingles to fit edges and corners
- A chalk line to ensure straight, even rows
- Measuring tape for accurate sizing and alignment
- A level to maintain straightness across installations
- A sturdy ladder or scaffolding to safely reach higher areas
Calculate the Quantity
Accurate calculation of the number of cedar shingles required is essential to avoid shortages or excessive surplus. Begin by measuring the total area of the walls where the siding will be installed. Cedar shingles are typically sold in bundles, with each bundle covering approximately 25 square feet. To determine the total number of bundles needed, divide the total square footage by 25. It’s advisable to purchase a bit more than calculated to account for cutting, errors, and potential future repairs.
Acclimate the Shingles
Allowing the cedar shingles to acclimate to the local climate before installation is a critical step. This acclimation period, typically a few days, helps prevent issues like shrinking or expanding post-installation, which can lead to warping or the formation of unsightly gaps. Store the shingles in a dry, shaded area with good air circulation to ensure they adapt effectively to the local humidity and temperature conditions.
Installing the Wood Shingle Siding
With your tools and materials prepared, you can commence the installation process. Adhering to these steps will help ensure a successful project:
Step 1: Prepare the Wall Surface
Begin by ensuring that the wall surface is clean, dry, and free of any debris or existing siding materials. If necessary, install a weather-resistant barrier, such as house wrap or felt paper, to guard against moisture intrusion. This step is particularly important in regions with high humidity or frequent rainfall, as it provides an extra layer of protection for the building’s structure.
Step 2: Install the Starter Strip
Attach a starter strip at the bottom of the wall to set the foundation for the shingle installation. The starter strip should be slightly thicker than the shingles to facilitate proper water runoff. Use a level to ensure the strip is perfectly straight, as this will affect the alignment of the entire installation. Secure the strip with nails, ensuring it is firmly attached and able to support the weight of the shingles above.
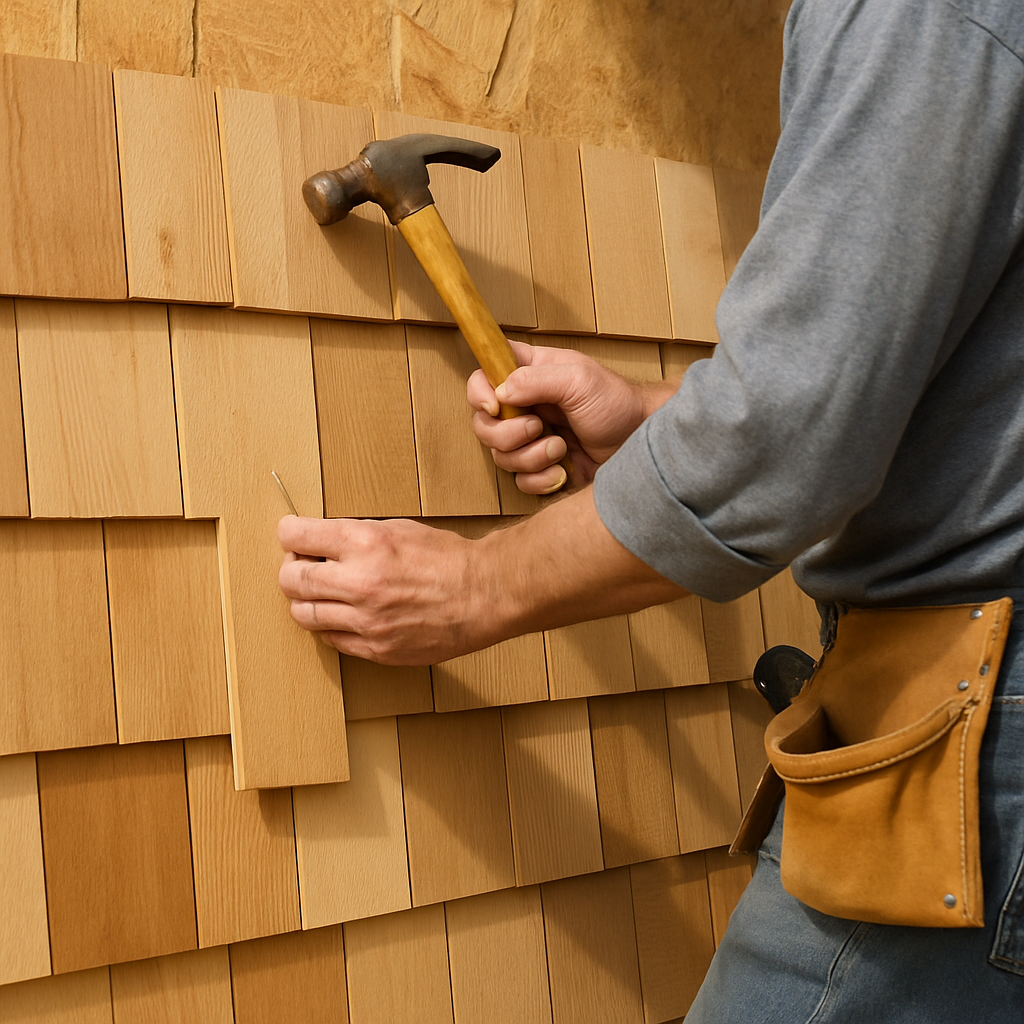
Step 3: Begin Shingle Installation
Starting at the bottom of the wall, place the first row of shingles, maintaining a ¼-inch gap between each shingle to allow for natural expansion and contraction. Secure each shingle with two nails positioned about 1 inch from the edge and 1 inch above the exposure line. This nailing technique ensures stability and minimizes the risk of splitting the wood.
Step 4: Stagger the Shingles
For the subsequent row, offset the shingles so that the gaps between them do not align with the gaps in the row below. This staggering technique not only enhances the visual appeal but also improves water runoff, reducing the risk of water infiltration. Staggering also adds structural integrity to the siding, distributing weight and stress more evenly across the surface.
Step 5: Continue Up the Wall
Continue installing shingles row by row, periodically checking that each row is level. Use a chalk line to maintain straight and even rows throughout the installation. At corners and edges, trim shingles as necessary using a utility knife for a precise fit. Ensure all cuts are clean and smooth to prevent moisture from seeping into the wood.
Step 6: Finishing Touches
After installing all the shingles, thoroughly inspect your work for any visible gaps, improperly placed shingles, or other inconsistencies. Make necessary adjustments to ensure a seamless finish. Consider applying a wood preservative or stain to enhance the natural beauty of the cedar and provide additional protection against the elements. This final step will help preserve the shingles’ appearance and extend their lifespan.
Maintenance Tips for Cedar Shingle Siding

by Red Zeppelin (https://unsplash.com/@redzeppelin)
While cedar shingles are relatively low maintenance, regular care can significantly enhance their appearance and longevity.
Regular Cleaning
To maintain their natural beauty, clean the shingles annually to remove accumulated dirt, mildew, and other debris. Use a mild detergent mixed with water and a soft brush to gently scrub the surface, or opt for a pressure washer set to a low setting to avoid damaging the wood. Regular cleaning not only preserves the shingles’ appearance but also prevents the growth of mold and mildew, which can compromise the wood’s integrity over time.
Inspect for Damage
Periodically inspect the siding for any damaged or loose shingles and replace them promptly to prevent further issues. Look for signs of moisture intrusion, pest activity, or any other factors that could negatively impact the wood. Addressing these issues early can prevent costly repairs and ensure the longevity of your siding.
Reapply Stain or Sealant
To protect the wood from weathering and preserve its natural color, reapply a stain or sealant every few years. This step creates a protective barrier against moisture and UV damage, preventing water absorption and prolonging the shingles’ lifespan. Choose a high-quality product that complements the existing finish and provides adequate protection against environmental stressors.
Where to Buy Cedar Shingles
When purchasing cedar shingles, consider these reliable sources:
- Cedar Shingle Manufacturers: Buying directly from manufacturers can guarantee high-quality materials and access to the latest products and innovations in the industry.
- Cedar Shake Suppliers: Local suppliers often provide a wide selection of styles and finishes, along with expert advice tailored to your specific needs and climate conditions.
- Home Improvement Stores: Large retailers may stock cedar shingles and offer competitive prices, along with the convenience of one-stop shopping for all your installation needs.
Conclusion
Installing wood shingle siding is a rewarding project that can dramatically transform your home’s appearance, offering a warm and inviting aesthetic. By following this comprehensive guide, you can achieve a professional finish that enhances your property’s value and curb appeal. Whether you’re a seasoned DIYer or new to home improvements, cedar shingles provide a sustainable and visually appealing solution that combines beauty and functionality, making it a worthwhile investment for any homeowner.
